
Pressing the appropriate keyboard shortcuts for screen capture will trigger OneDrive to save the captured screen to your cloud storage. You can capture the screenshot of full screen by pressing Print Screen button, or press Alt + Print Screen button at the same time to take the screenshot of the current window only.
All the pictures will be saved in Users > OneDrive > Pictures > Screenshots folder. You can share these photos to anyone, right click on the image and select "share a OneDrive link". Please note that anyone with the link will be able to view and download the file.

Sign in to your OneDrive account now and follow the following steps to enable this option.
- Navigate to OneDrive icon in the system tray, then right click on it and select Settings.

- Click on the "Auto save" tab and check the "Automatically save screenshots I capture to OneDrive" option to enable it.

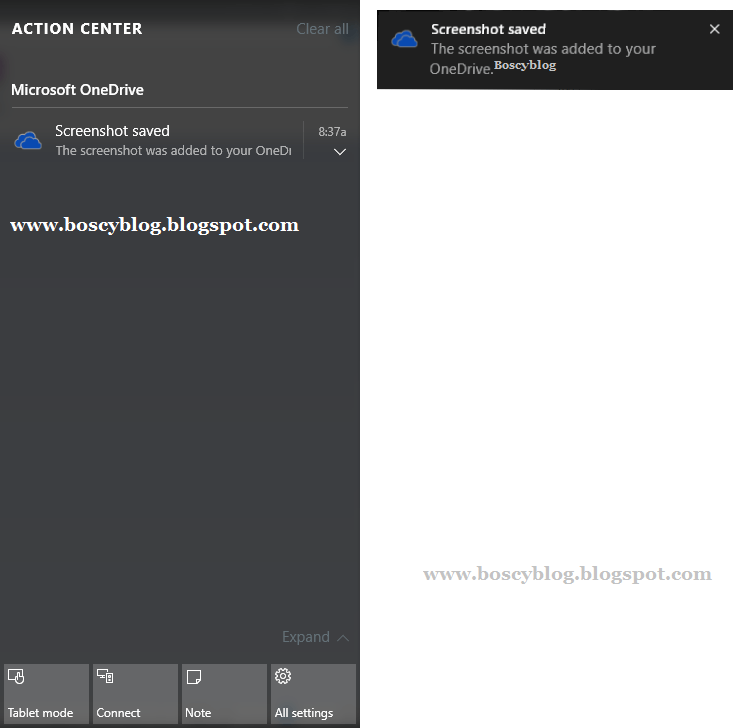
- Now you'll receive a notification every time after you capture the screenshot.
- That's it!
If you find this option annoying, then you can disable this option. It
doesn't capture current window properly, so I have disabled it.
Post a Comment